Captions are an essential component of making your video content accessible to all users. Captions can be added to any media in a few simple steps using Kaltura.
When are captions required?
Video/audio content is required to have captions when:
- The media is publicly available
- A student in your course has an accommodation requiring captioning
When are captions recommended?
Captions are recommended on all course related video/audio materials for a number of reasons:
- Access for the Deaf and Hard of Hearing
- Access for students that have other disabilities such as cognitive disabilities or listening comprehension issues
- Improved experience for non-native English speakers
- Better listening comprehension for all users
- Helpful in environments where sound cannot be played or audio quality is poor
- Captions create searchable content
Adding Captions to Kaltura Videos
Adding Captions to Videos
- Create your video recording in any manner you see fit or using the following instructions: Managing content in Media Space.
- From either moodle.lafayette.edu or media.lafayette.edu, navigate to “My Media.”
- Click on the recording for which you wish to add captions to navigate to the media page.
- Click the “Actions” dropdown menu under the video and choose “Caption & Enrich.” The following options will be presented.
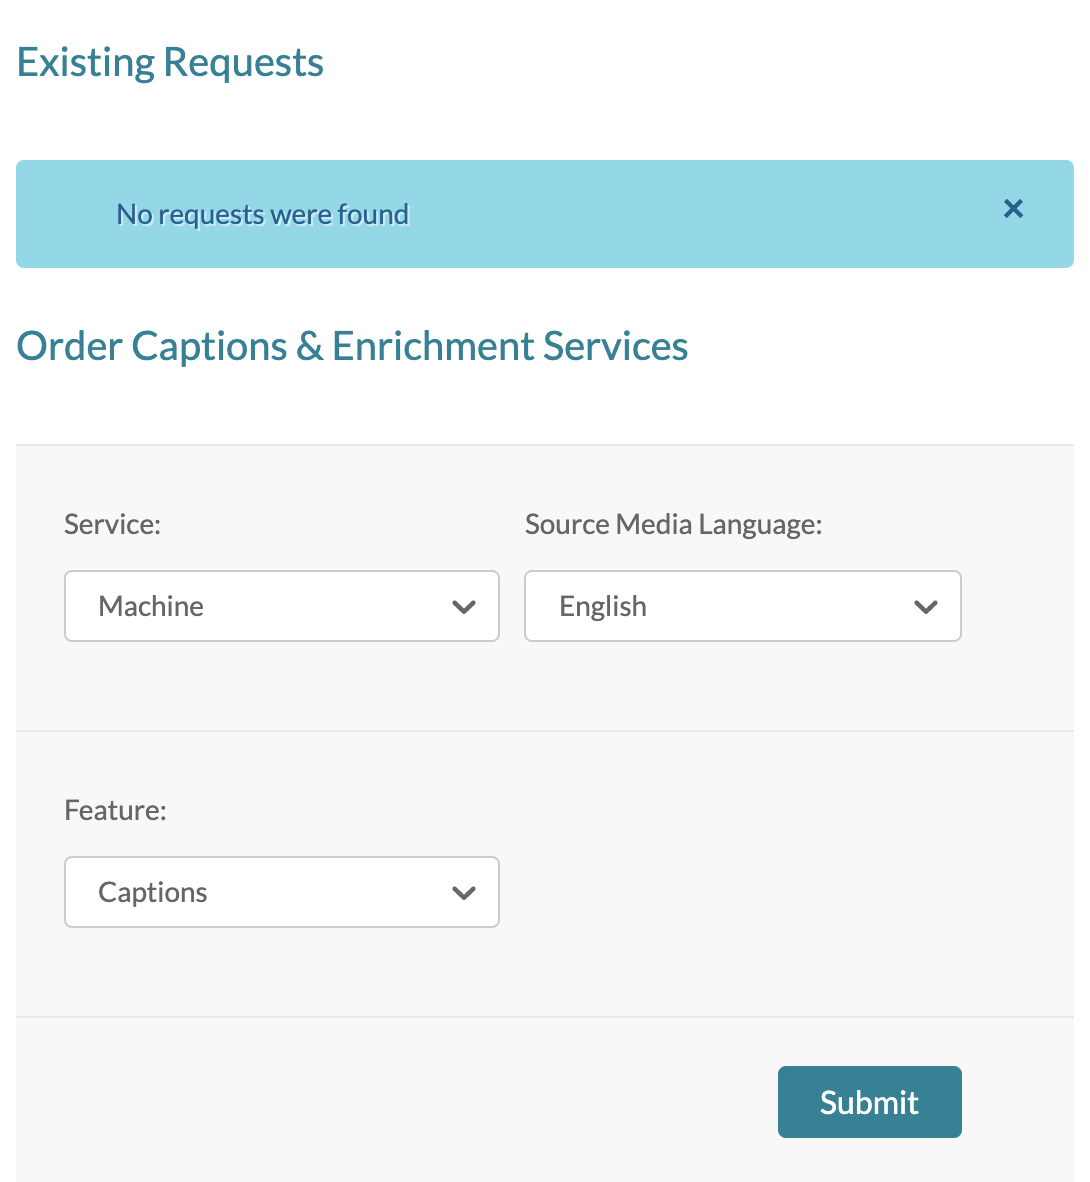
- Select the desired “Source Media Language”from the drop-down menu, and choose [Submit] to order captions.
- Kaltura will then create machine-generated captions. In the same window, under “Existing Requests” you will now see the request that you just submitted.
- You will receive an email when your captions are generated.
- Once the captions are created, you can click on the [CC] button in the video viewer to turn them off or change language (depending on which language(s) of captions were ordered).
Editing Existing Captions
- From either moodle.lafayette.edu or media.lafayette.edu, navigate to “My Media.”
- Select the recording for which you wish to edit captions.
- Click the “Actions” dropdown menu and choose “Caption & Enrich.”
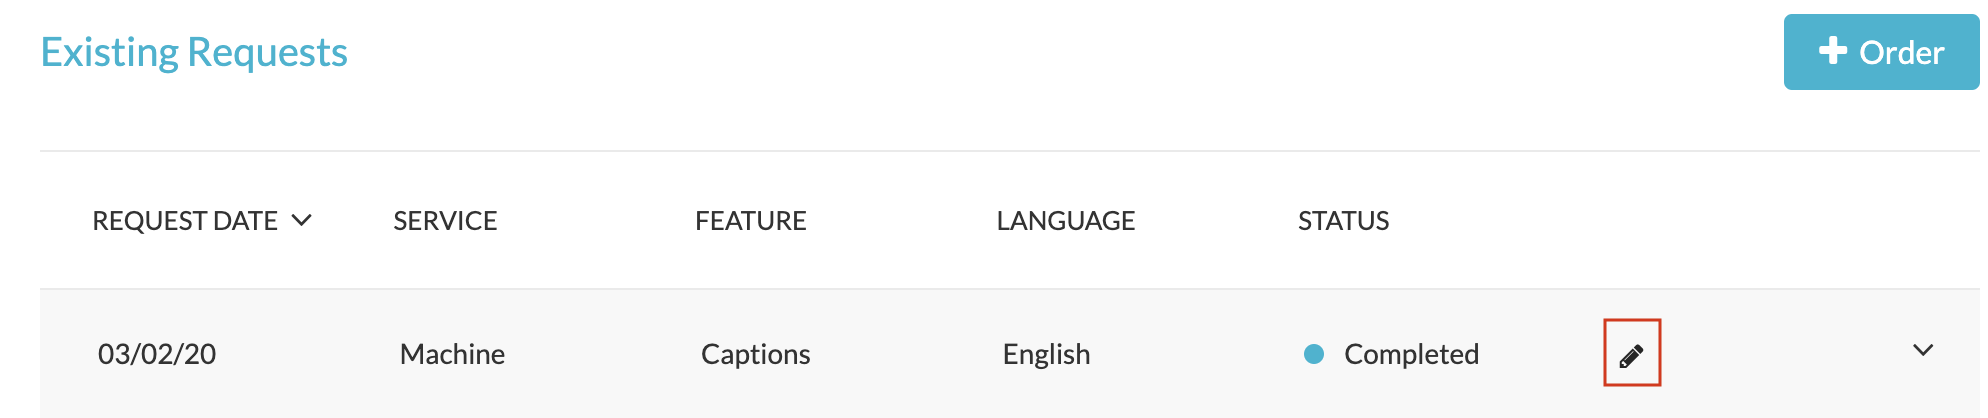
- Under “Existing Requests” you should see the request for captions that you previously submitted.
- Select the pencil icon to bring up the Closed Captions Editor where you can change timestamps, search and replace and directly modify the generated captions.
- When you are done making changes in the Closed Captions Editor, click [Save] in the top right corner of the screen.
- If you find that a word or phrase is repeatedly misspelled or incorrect, you can use the “Search” and “Replace with” option.
- If there is more than one speaker, use the “Add Speaker to selected items” option.