Lafayette CollegeTechnology Help
Adding Chapters to Videos in Kaltura
Adding Chapter Markers to Videos in Kaltura
Chapters act as bookmarks within videos. Pedagogically, incorporating chapters can help students “chunk” important information. While Chapters are automatically created when recording PowerPoint with Lecture Capture or Kaltura Capture, it is also possible to add chapters to enhance your media after recording takes place.
- From either moodle.lafayette.edu or media.lafayette.edu, navigate to “My Media”
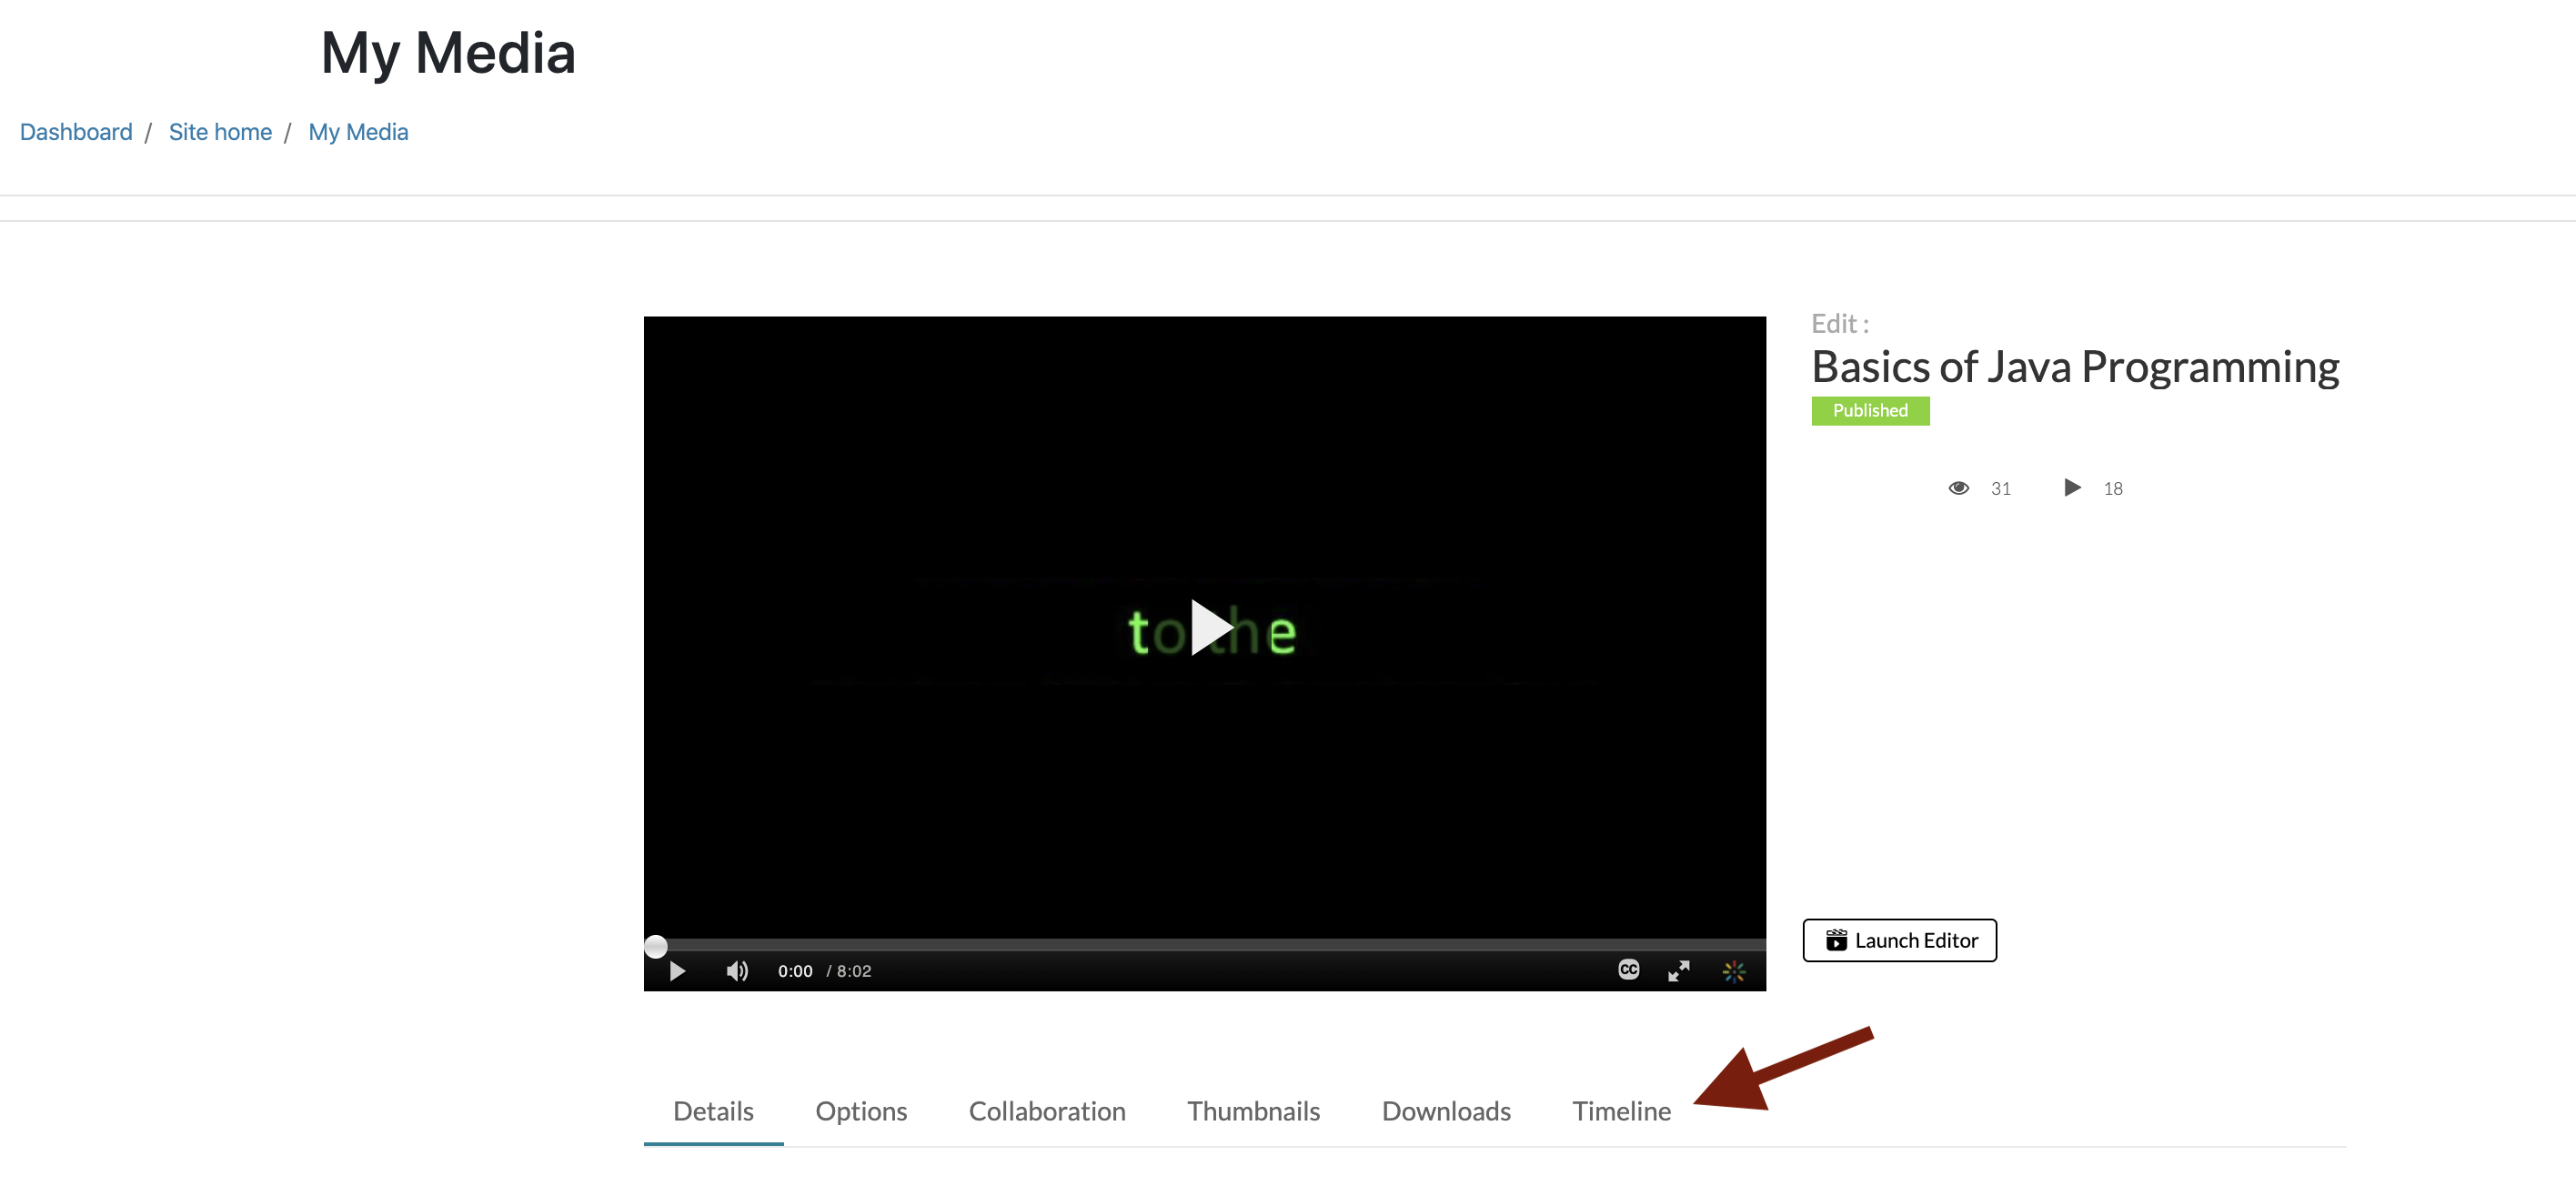
- Select the video you would like to enhance
- Click the “Actions” dropdown menu and choose “Edit”
- From the “Edit” Landing page, navigate to the [Timeline] button, located below the video viewer
- The Timeline interface (below) allows you to create chapters within the video
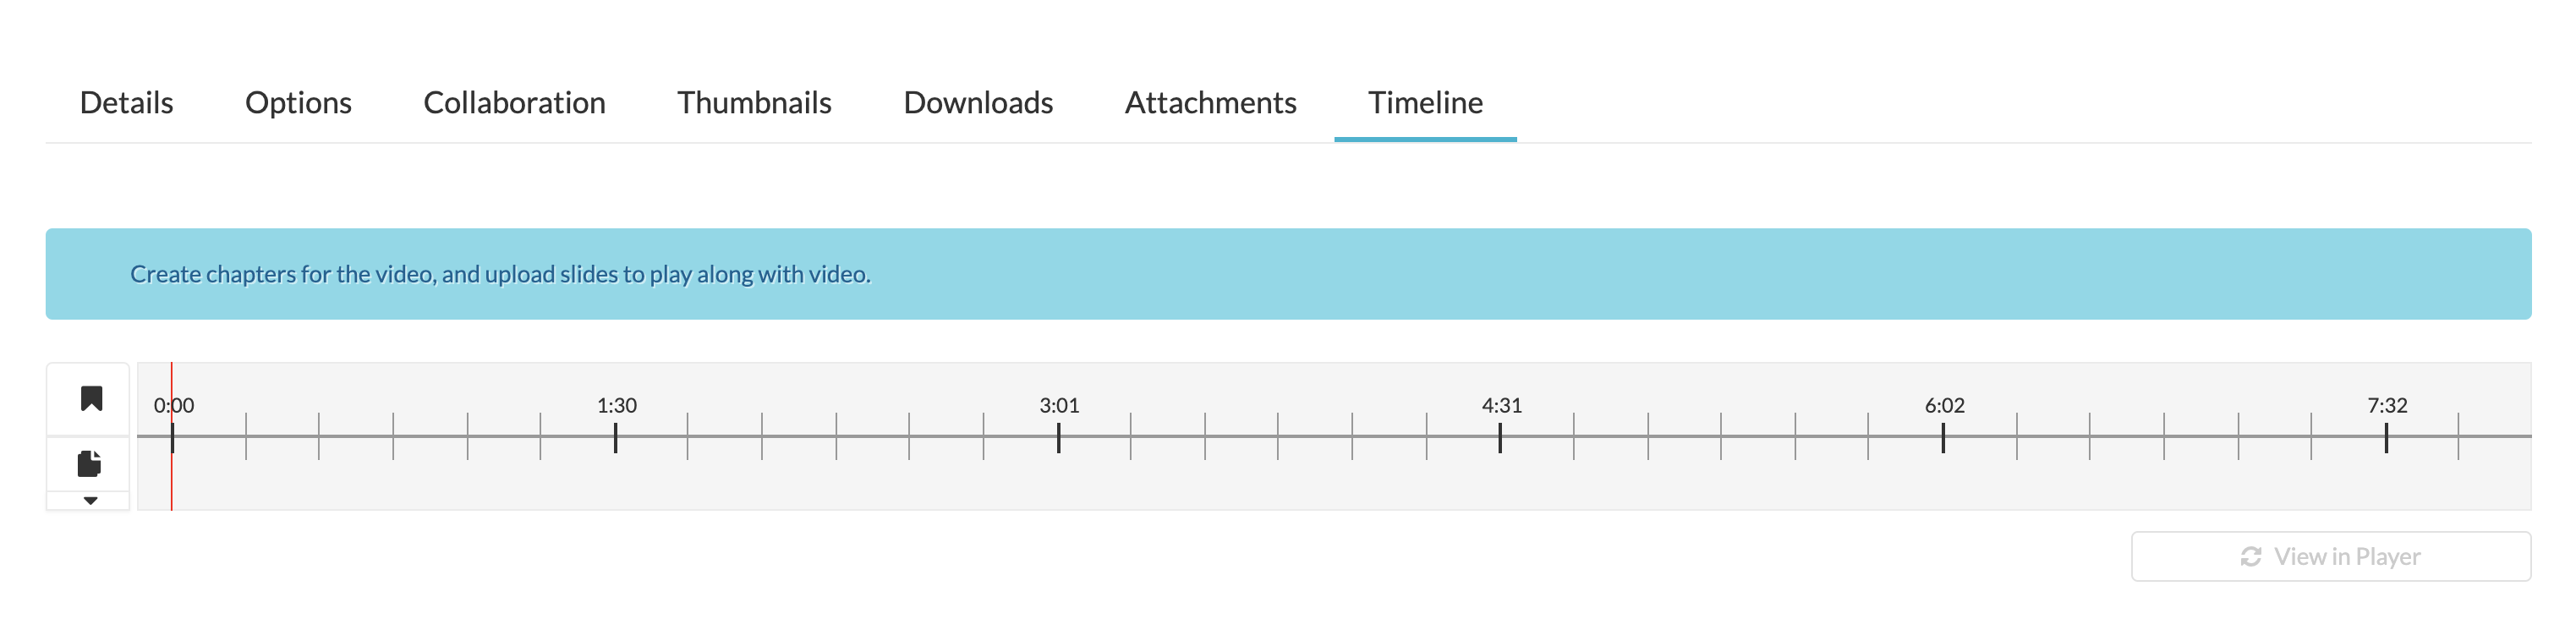
- Place your cursor along the timeline at the desired location (or select an existing chapter to edit). Once placed, selecting the “Add Chapter” icon brings up the following edit pane:

- Begin by entering the Chapter Information, including title, description, time stamp, and tags to search for the chapter.
- To the left of the Chapter Information text boxes, you will see options to change the Chapter Thumbnail.
- This is the image that will display in the list of chapters as students view your video.
- To change the chapter thumbnail, either click on [Upload] or click on the current chapter thumbnail where it says [replace thumbnail] and select the image to upload from your computer.
- Click [Save] when you are done making changes.
To confirm that your changes were saved, you should now see a green [Saved] button, as well as options to [View in Player] and [Delete the Chapter].
Adding Slides to Videos in Kaltura
Similar to Chapters, slides can be added to Kaltura videos to enhance the media. Integrating slides within media in Kaltura allows you to provide additional information for viewers.
- From the Timeline interface (shown in steps 5 and 6 above), you can supplement media with slides.
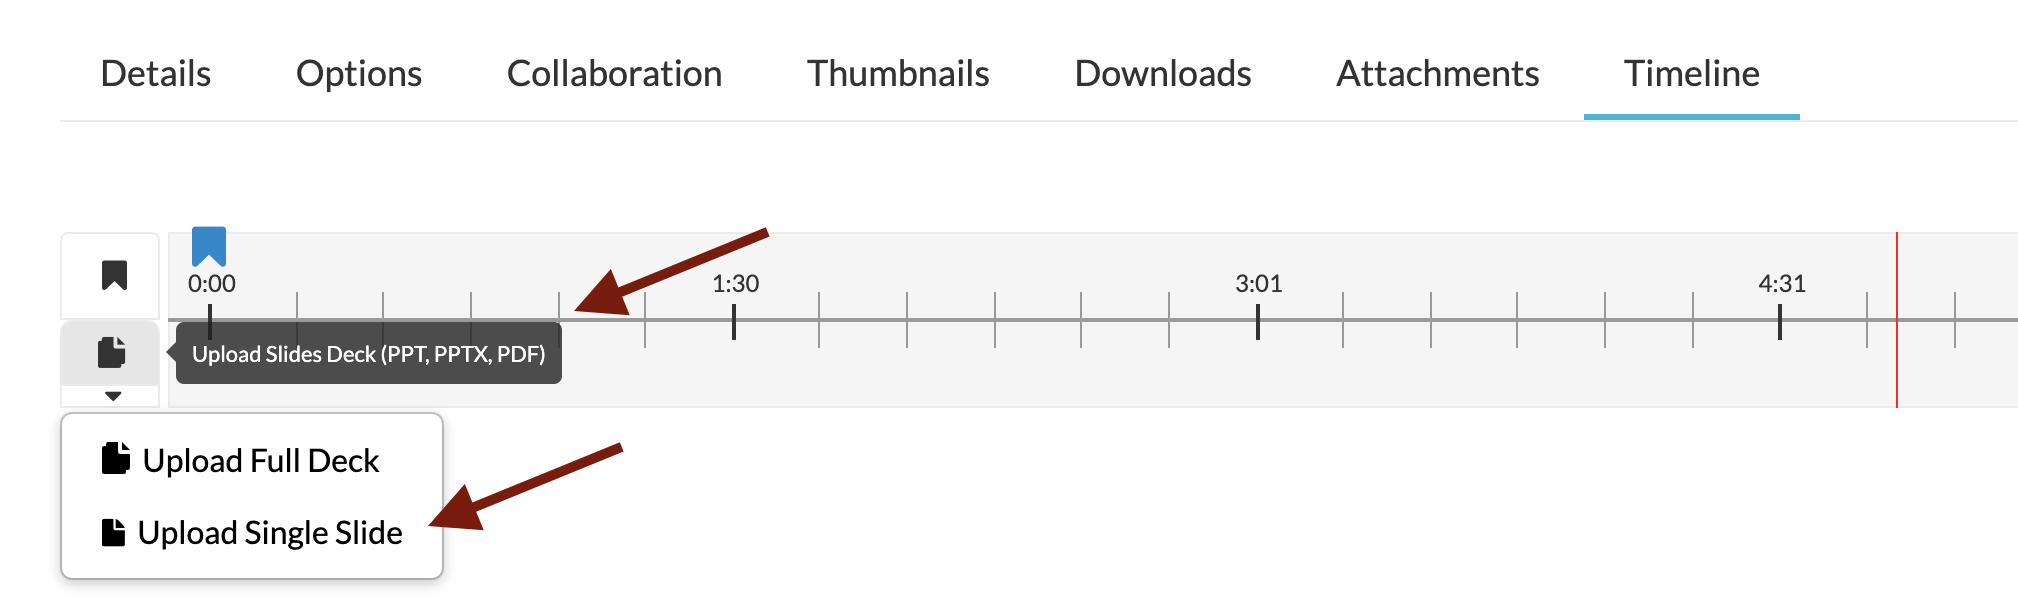
- Place your cursor along the timeline at the desired location (or select an existing chapter to edit). Once placed, you can either add a single slide or upload an entire slide deck to include with your video.
- Create a New Slide or Upload a Single Slide
- Selecting either option will bring up a similar edit pane as above.
- Begin by uploading the image of the slide that you want to insert into the media. For more information about saving slides as images: Save a slide – Office Support.
- Next, enter Slide Information including title, description, timestamp, and relevant tags.
- Click [Save] when you are done making changes.
To confirm that your changes were saved, you should now see a green [Saved] button, as well as options to [View in Player] and [Delete the Chapter].
- Upload a Slide Deck
- Rather than adding one slide at a time, it is also possible to upload an entire slide deck to integrate with a video.
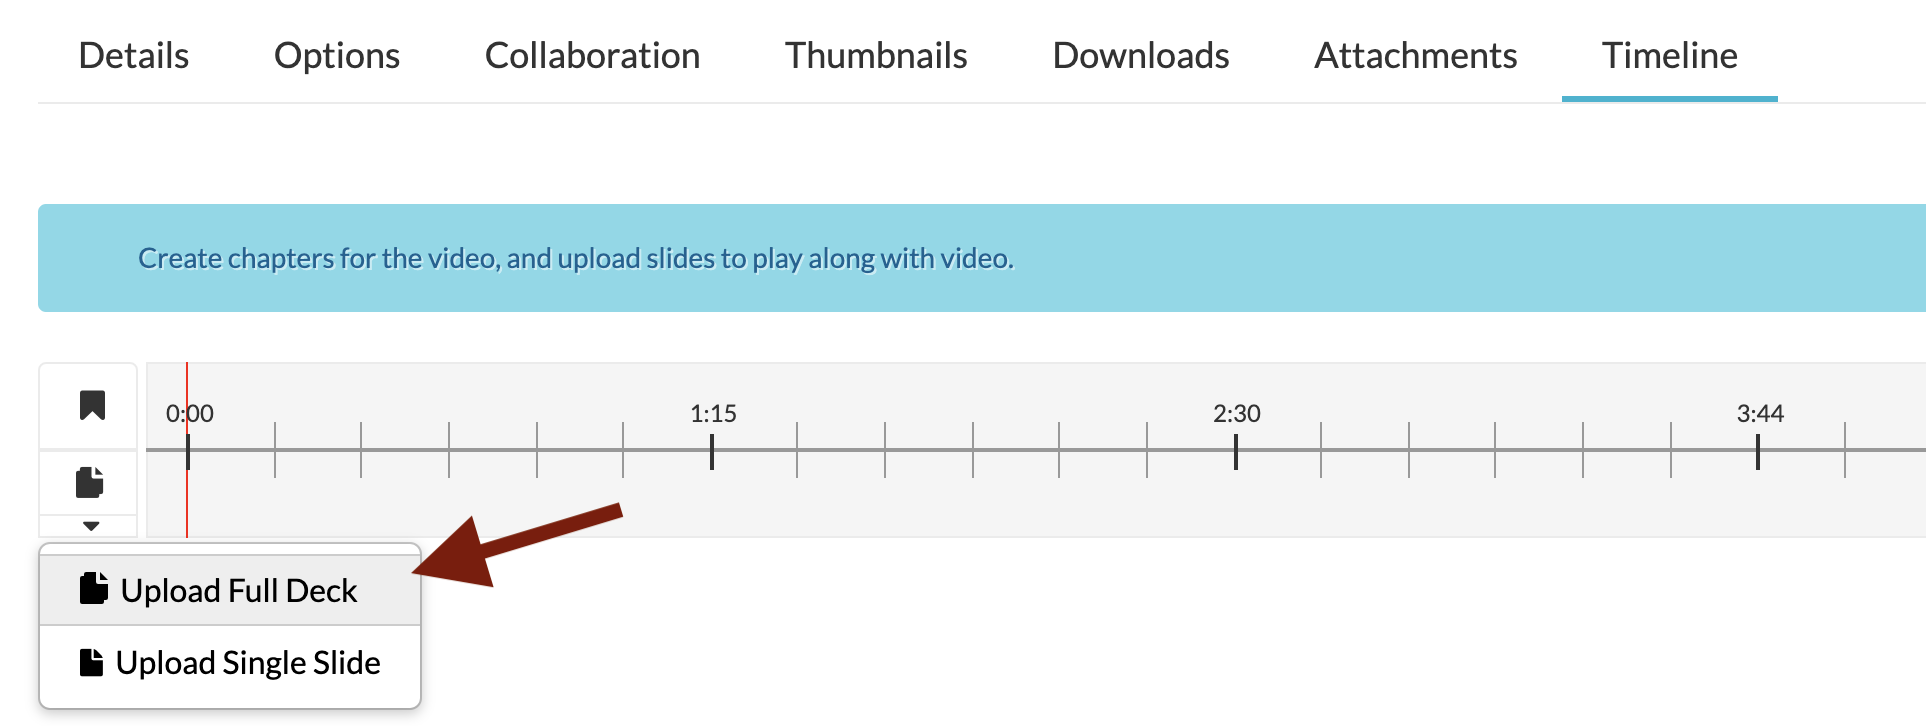
- After selecting Upload Full Deck from the dropdown Upload menu, you will be prompted to upload an entire slideshow presentation to accompany the media.
- Supported file types for slide decks are: PPT, PPTX, and PDF.
- Depending on the size of your slide deck, this upload process may take a few minutes.
- After uploading, the slides are spaced out across the entire video evenly. To move or edit a slide, click on the icons along the bottom row of the timeline interface.
- You can change the title, description, timestamp, and tags for each slide.
- Supported file types for slide decks are: PPT, PPTX, and PDF.
- Rather than adding one slide at a time, it is also possible to upload an entire slide deck to integrate with a video.