Lafayette CollegeTechnology Help
TablePress Plugin
Using the TablePress plugin
Enabling the TablePress Plugin
- From the Dashboard of your Forge site, click Plugins
- Click “Activate” next to the TablePress plugin
Using TablePress
Once TablePress is activated for a site, you will see ![]() TablePress added to the left menu. Hover over TablePress to show a submenu and select All Tables to see all table options or select Add a New Table.
TablePress added to the left menu. Hover over TablePress to show a submenu and select All Tables to see all table options or select Add a New Table.
Creating a New Table
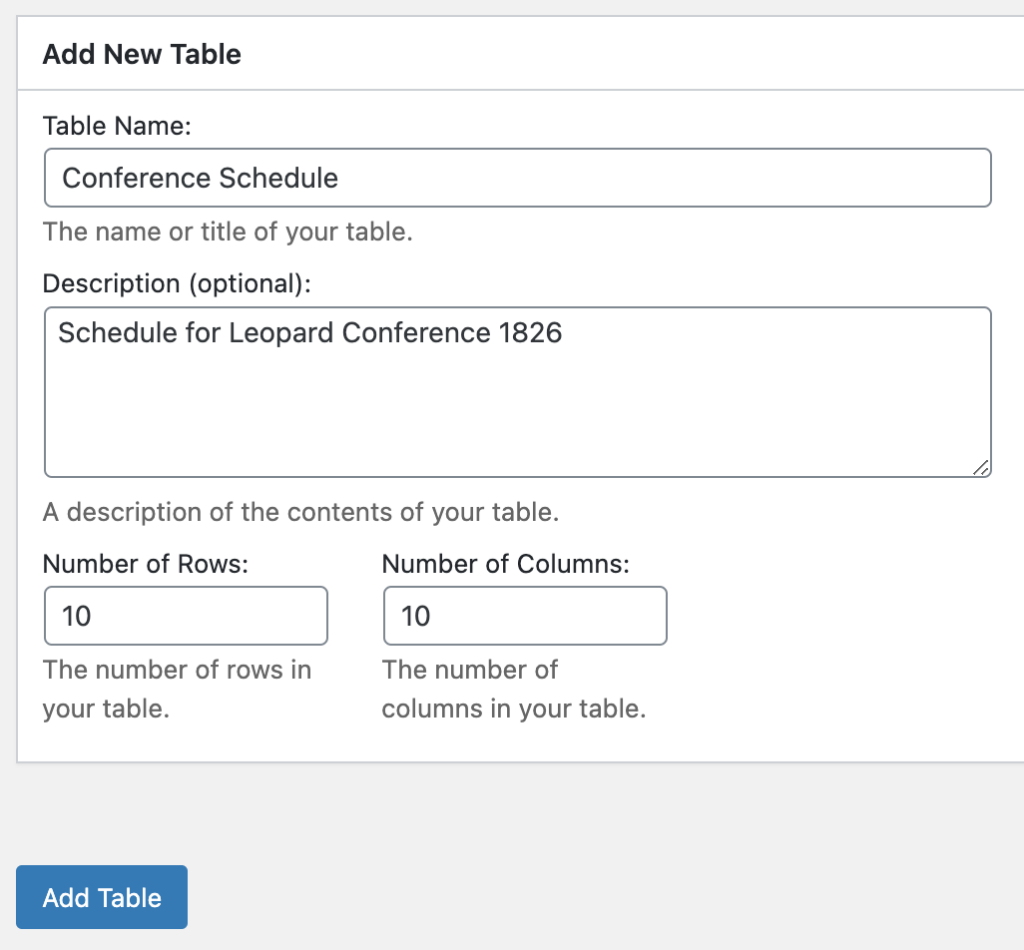
To add a new table, enter its name, a description (optional), and the number of rows and columns into the form below. You can always change the name, description, and size of your table later. Click the “Add Table” button.

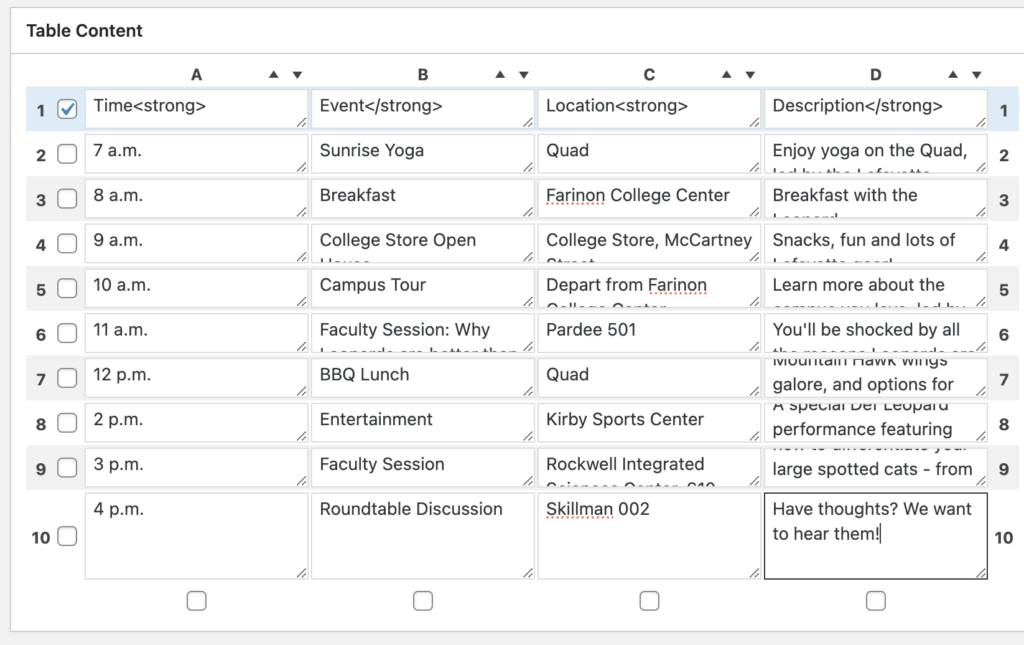
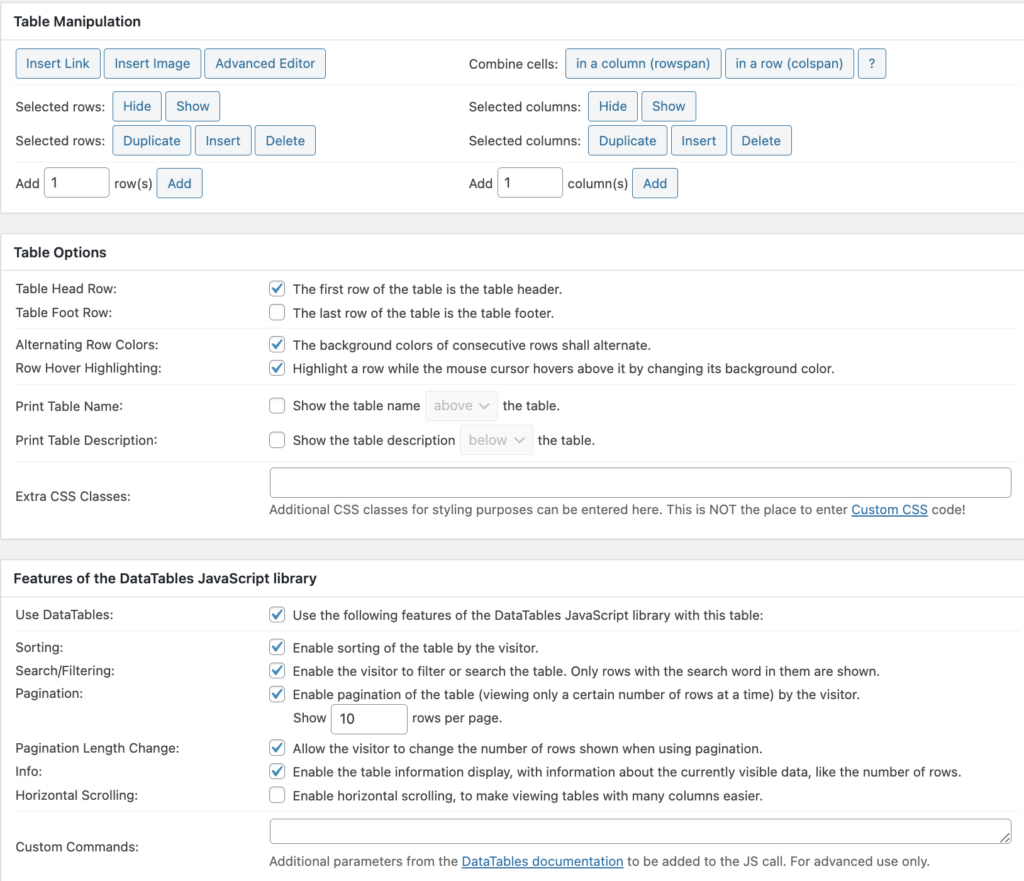
Clicking “Add Table” will open the table editor where you can create and modify your table using the available input fields and buttons. You can easily add and move rows and columns, duplicate, copy, and more.


Once you have completed your table, click Save Changes at the bottom. Your table is now available to be inserted on a page or post.
Adding a Table to a Post or Page
Navigate to the page or post on which you would like to add the table. Click on the Add Table icon to open a list of your tables and select Insert Shortcode for the table you would like to add. Click Save Draft or Publish. Alternatively, you can copy the shortcode when you are creating the table and simply paste it into the content block on your page or post.

Your table will now display on your page or post.

Additional Ways to Create Tables
TablePress offers the option to import tables in a variety of ways. If you have questions on importing a table, please reach out to the Help Desk at help@lafayette.edu for assistance.