CrashPlan provides easy and secure protection against data loss for Windows, macOS, and Linux computers. CrashPlan is designed to work in the background providing continuous protection without disrupting daily work.
Who is eligible to use it?
ITS provides CrashPlan for College-owned Faculty and Staff computers.
How do I install it?
CrashPlan is installed on all College-owned Faculty and Staff computers. If you cannot find CrashPlan on your device, contact the Help Desk for assistance finding and installing it via Software Center.
How do I check the status of my backup?
You can check the status of your backup any time by logging into the CrashPlan client with your Lafayette credentials and standard two-step login.
Change what files are backed up
Most users will find that the default settings for CrashPlan work well without any modifications, but settings can be modified in the CrashPlan client. Launch the CrashPlan application by searching for “CrashPlan” via Start -> Search (Windows) or Spotlight (macOS). Upon launching the application the login screen launched with your default browser.
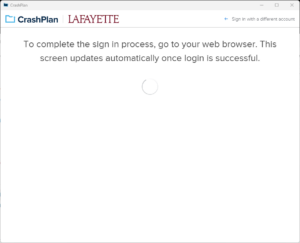

Log in with your Lafayette credentials and standard two-step login and a summary information screen will be presented.

To select or deselect which files are backed up, click on the [Manage Files…] button.

By default CrashPlan backs up your user profile directory. For most users the default is the correct setting and will not need to be changed. If you have a directory of documents that is not included by default, simply check the box next to it to have it included. You also have the option of de-selecting a directory if it should not be backed up. When done with your changes simply click [Save] to save the changes and return to the previous screen.
Restore files from the client
Launch the CrashPlan application by searching for “CrashPlan” via Start -> Search (Windows) or Spotlight (macOS). Upon launching the application a login screen will be presented.


Log in with your Lafayette credentials and standard two-step login and a summary information screen will be presented.

To restore a file or a group of files, click the [Restore Files] button.

Select the files to be restored by checking the box to the left of the file and then click the [Restore Files…] button. Also note that in addition to being able to restore groups of file and individual files, CrashPlan also allows for restoring previous versions of files. Clicking the [As Of…] button would allow for earlier versions to be restored.
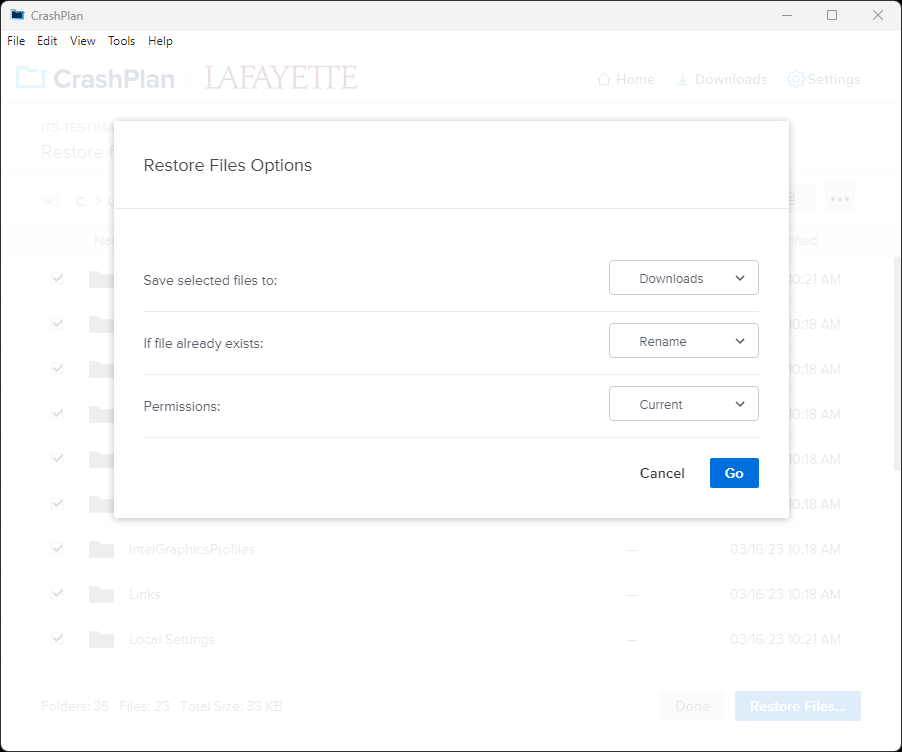
The default Restore Files Options are: download the selected files into the Downloads folder, renaming the restored file if file already exists, and maintaining the current permissions. Another option is to change the Save selected files to to Original Location, set If file already exists to Overwrite, and keeping Permissions to Current to do an over the top restore of data. Once you make your selections, click the [Go] button.
Restore files from the web app
Navigate to backup.lafayette.edu in a web browser and you will be presented with a sign-in page.
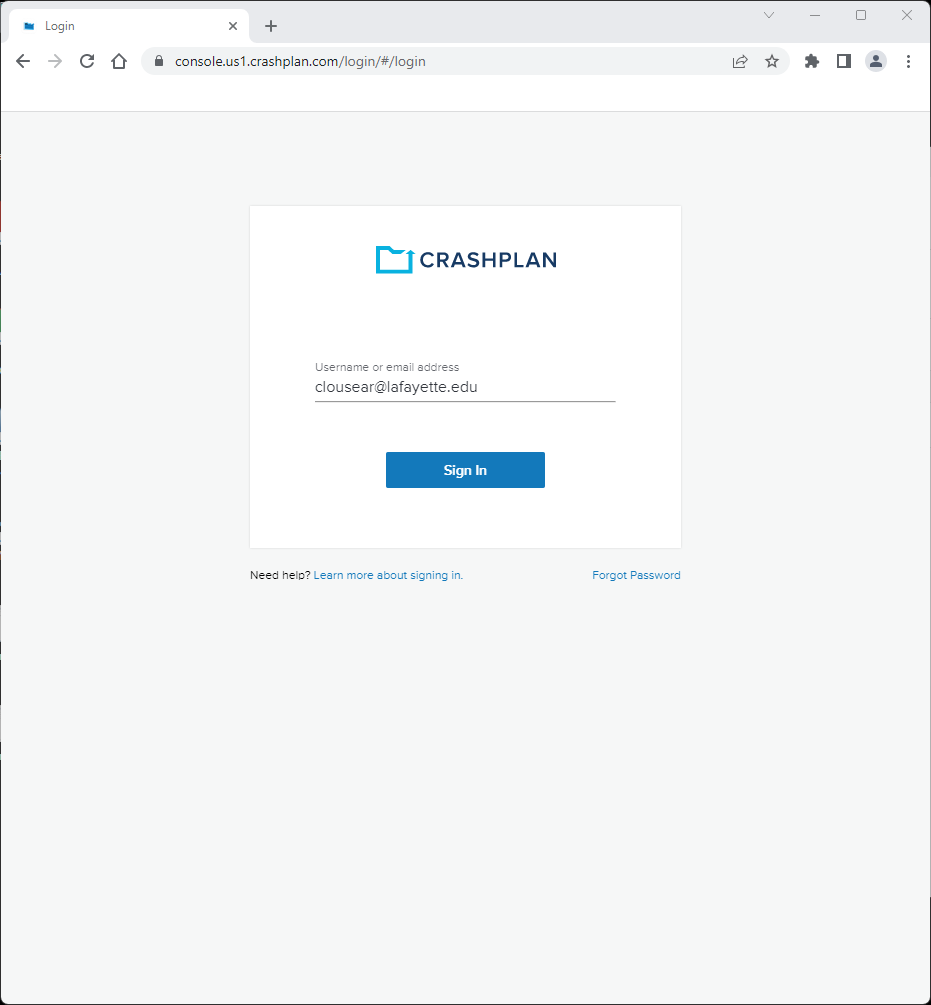
Sign-in with your Lafayette email address, and Lafayette sign-on page will appear.
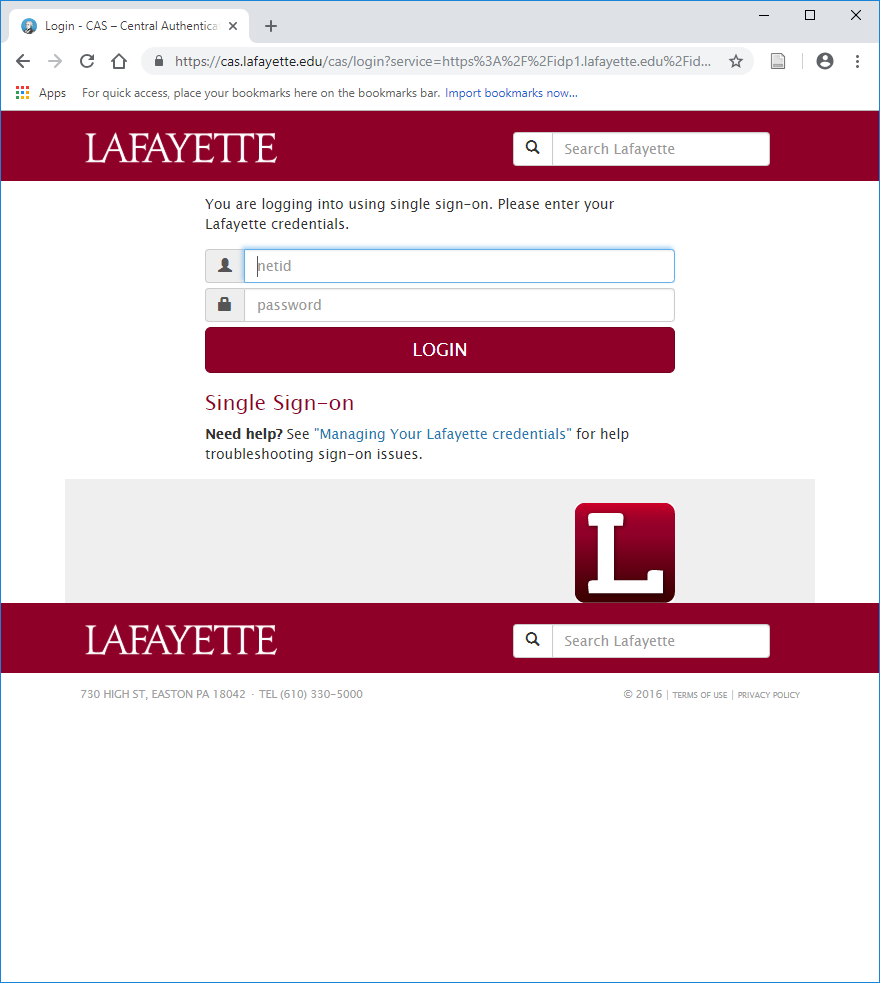
Sign-on with your Lafayette credentials and standard two-step login and a summary dashboard is displayed.
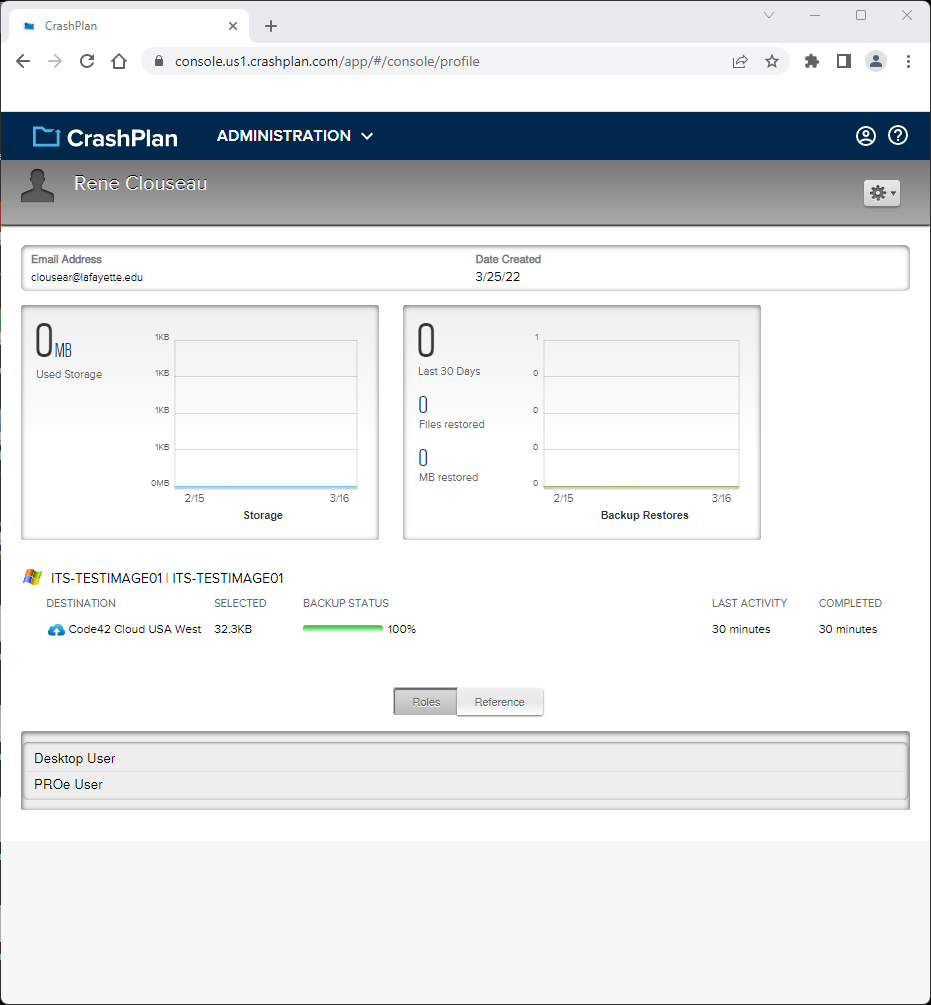
Click on the device name to see the details of your computer.
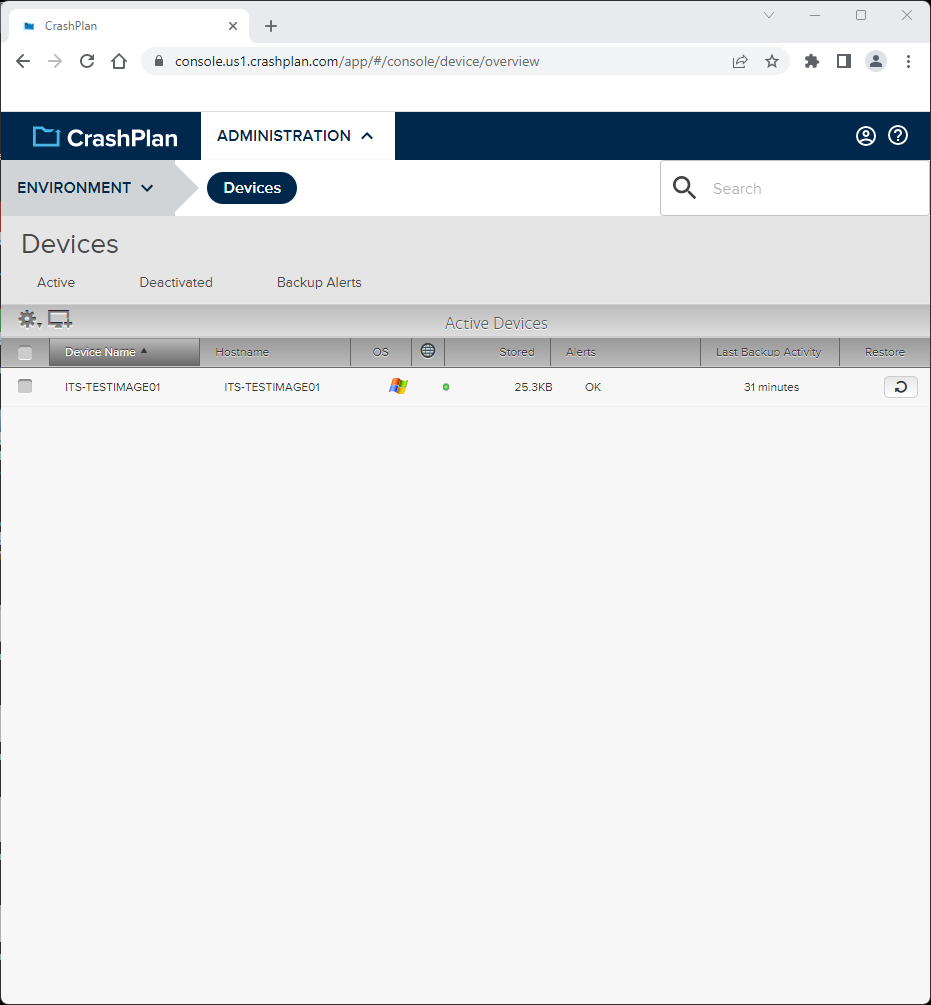
Click the Restore button associated with your computer. CrashPlan will present a list of folders and files available for restore.
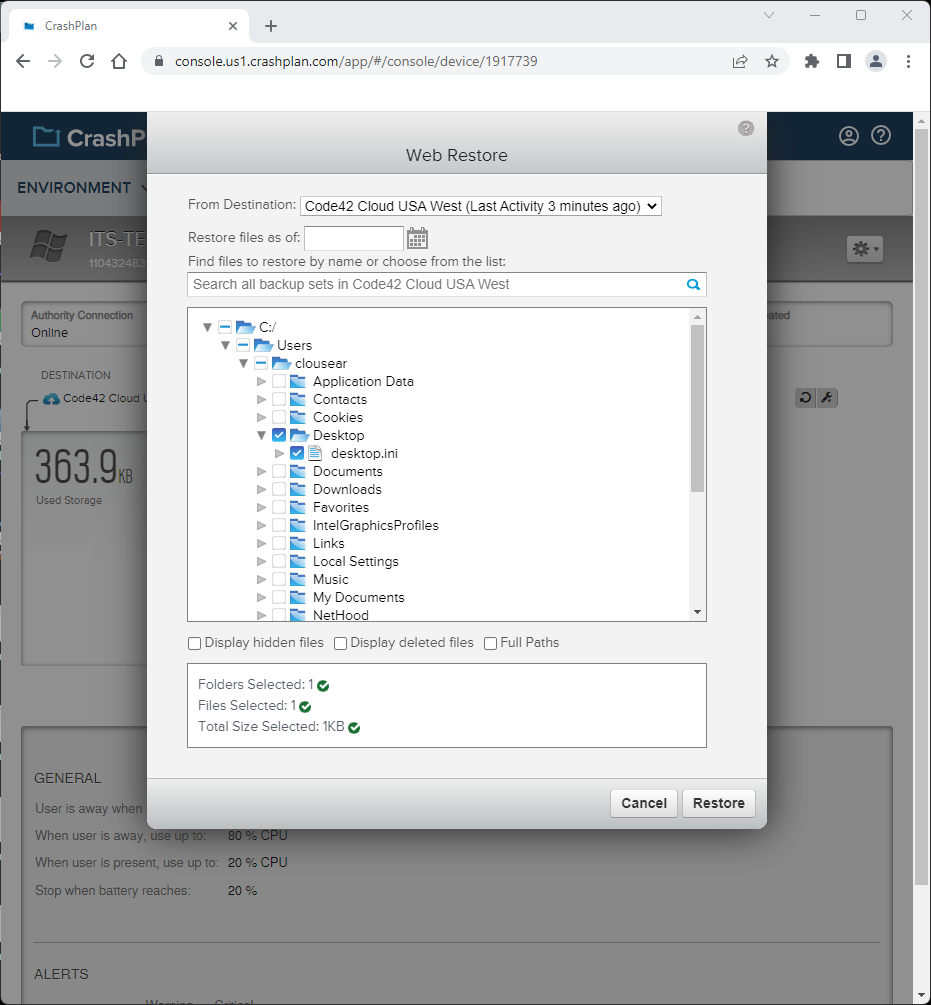
Select the files and folders to be restored and then click the Restore button. Also note that in addition to being able to restore groups of files and individual files, CrashPlan also allows for restoring previous versions of files.
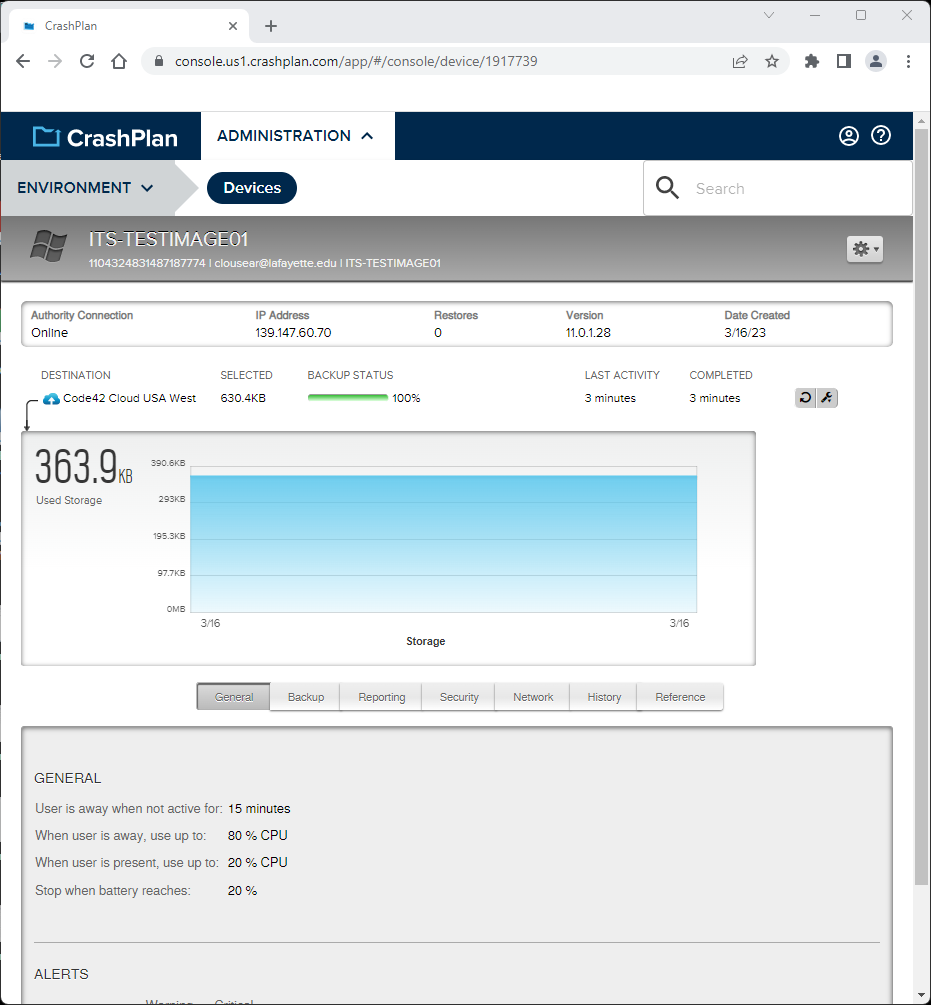
CrashPlan will retrieve the selected file(s) and generate a .zip file for you to download. Click on the download link as indicated in the screenshot above to download the zip file.


