Lafayette CollegeTechnology Help
Page Header Galleries
How to add page header galleries
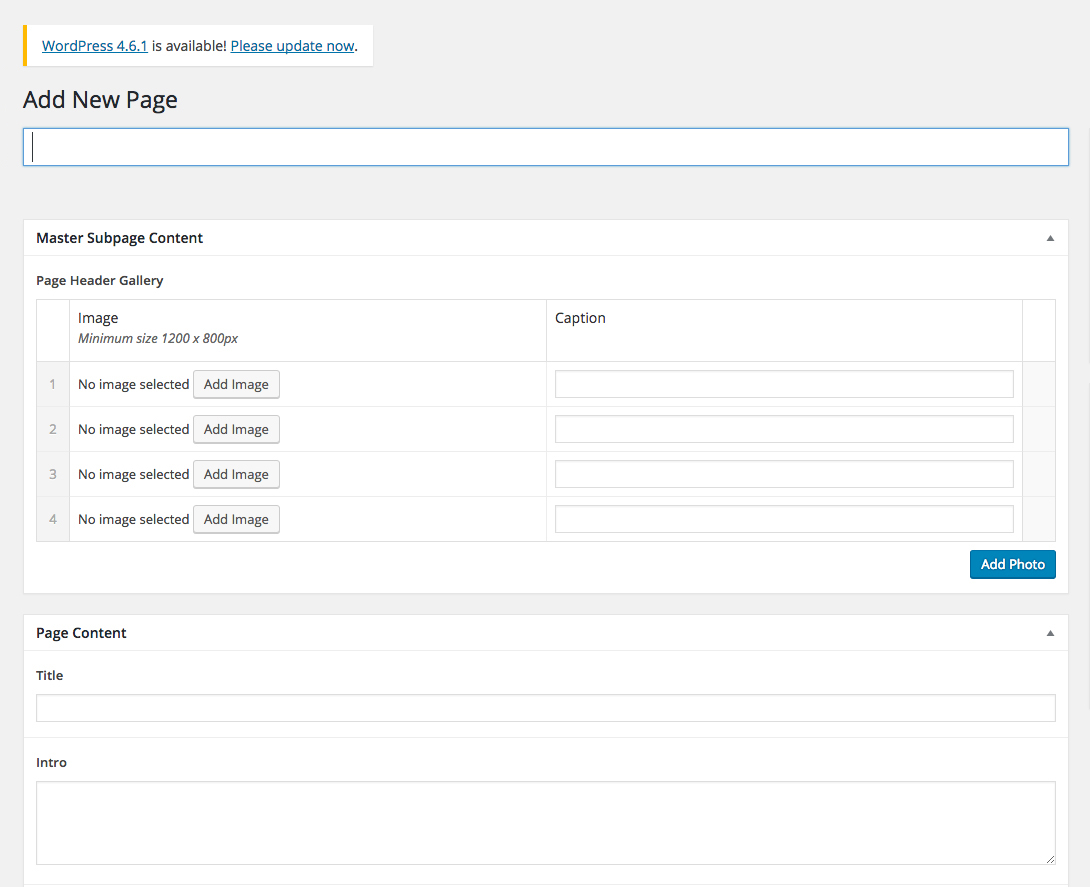
When creating a new page, you will have the option to add a series of images to the Header Gallery. The Master Subpage Content panel (see below) is where you will place, update, reorder, and delete page header gallery photos.
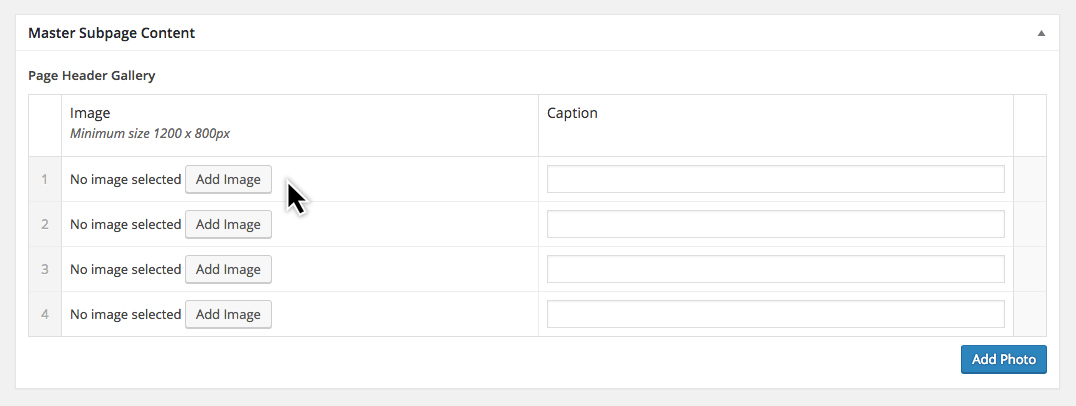
Step 1: Select and place your image
Click an add image button in the page header gallery component.
The Media Library panel will pop up as seen below.

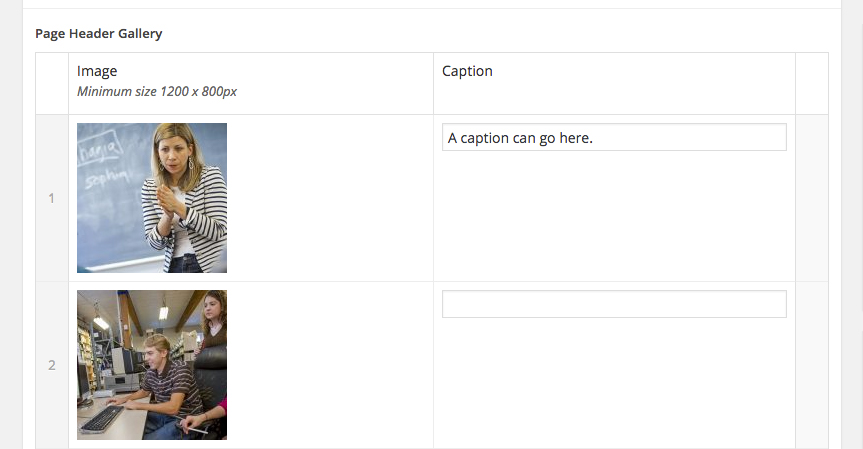
You will have the option of adding an existing image or uploading a new image. Once you have chosen your image from the media library, it will then appear as a thumbnail in the page header gallery component.
- All photos should be a minimum of 1200 x 800 pixels.
- They should be no more that 1440 x 810 pixels to avoid slowing down WordPress loading time with unnecessarily large photos.
Optional: Add a Caption
You have the option of adding a caption to your photo in the caption input box to the right of your picture thumbnail (see above).
Step 2: Add all your photos
You will continue to add all the photos to your gallery. Please note that there should be a minimum of at least 7 photos. Otherwise, there will be a black section where there should be a photo (see below).

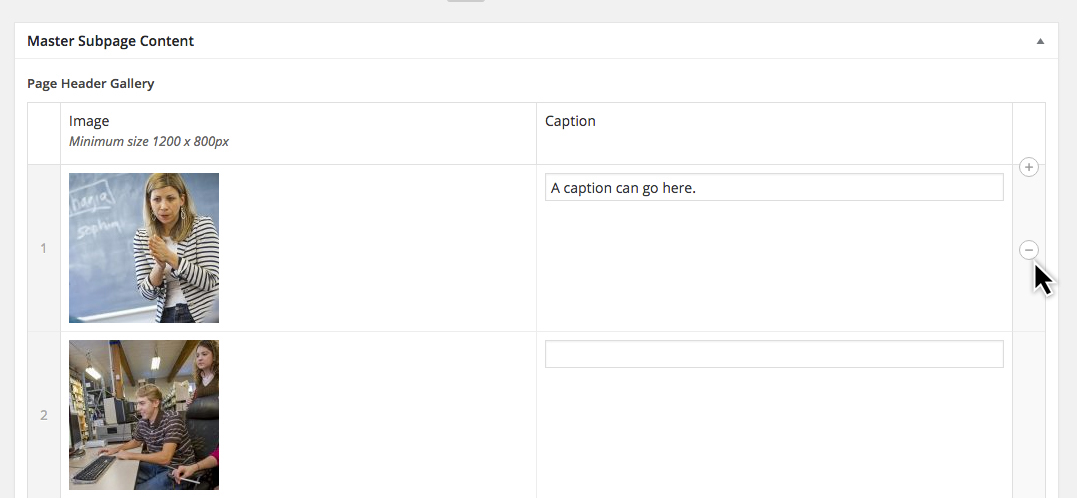
Delete, Update, and Reorder Photos
Use the roll-over buttons on the right side of the thumbnail block to delete, update, or add new photos. Click the plus and minus circle icons to add or delete photos.
To reorder your photos:
- Place your cursor over the number on the left side of the thumbnail and hold down to get the placement icon (shaped like a cross).
- While still holding down your curser, move the block up or down and drop into a new order.