Lafayette CollegeTechnology Help
Software Center for Windows
Using Software Center
Software Center can be found by doing a Windows search for “Software Center”, or clicking the Start menu and finding the Microsoft Endpoint Management folder and launching the application called “Software Center”.
The main view of Managed Software Center is accessed by selecting the Applications tab at the left side of the window and will display applications that are available for you to install or remove with a simple click of a button.
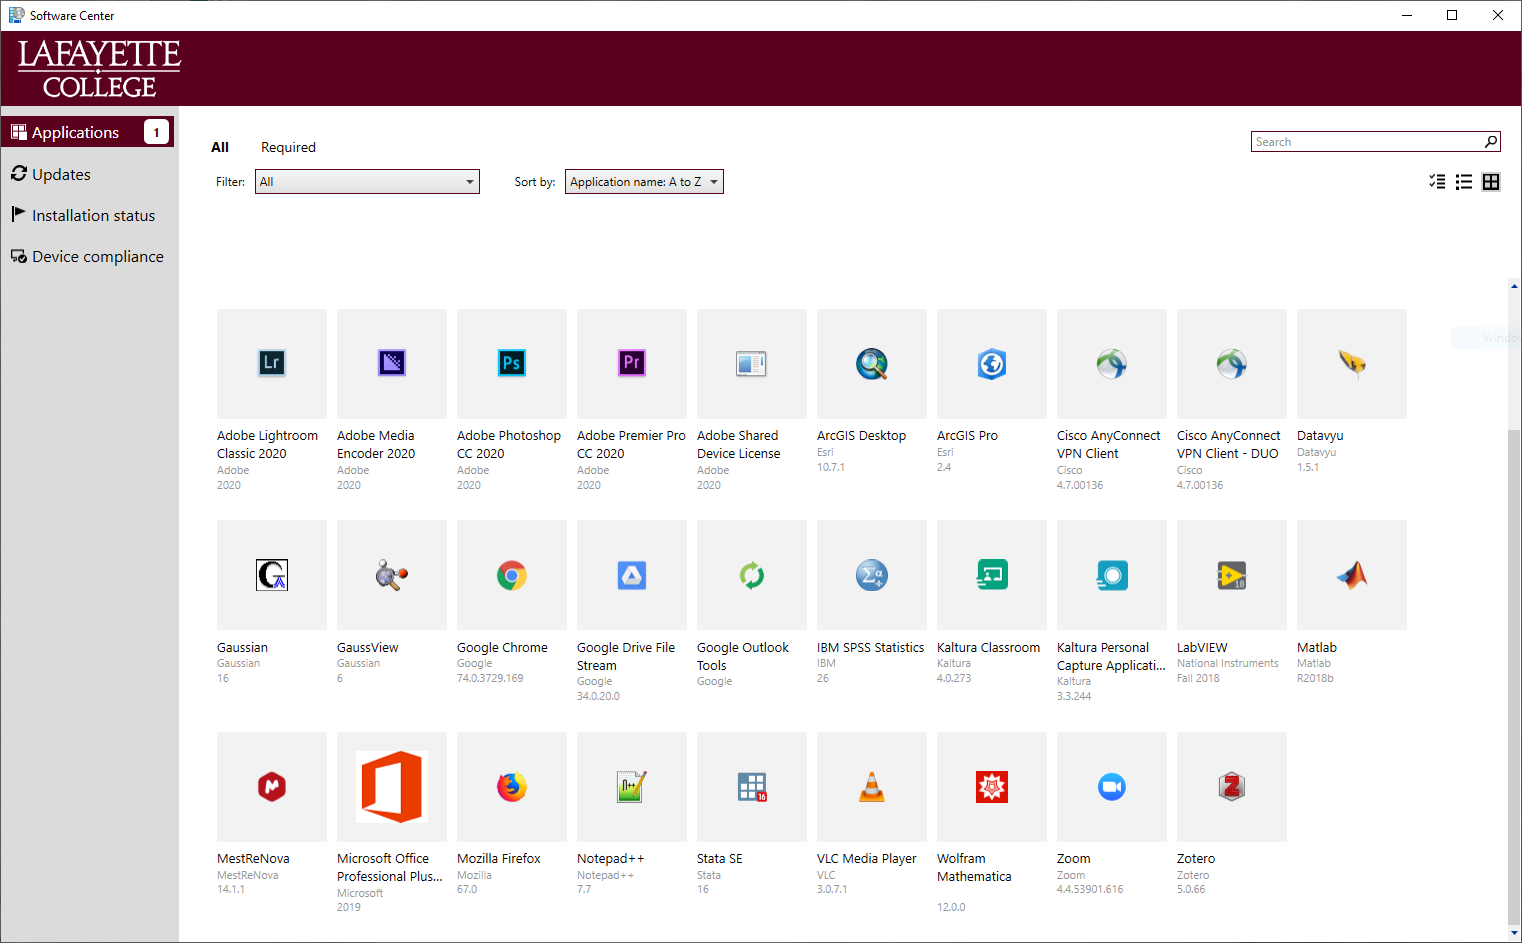
You can click on any software title to see more details about that item.
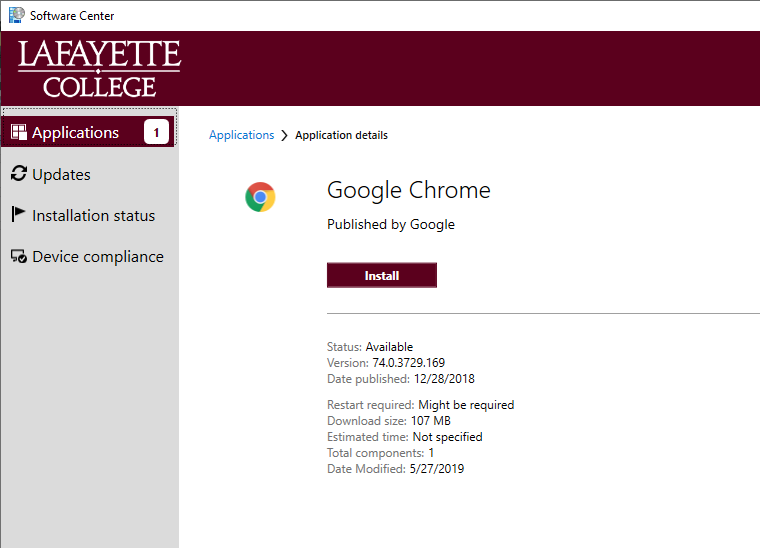
If the selected software is already installed and the version matches what is available in Software Center, the button will show as Uninstall. The button can be then be used to remove the software. If the uninstall button is grayed out, the software is required as part of the ITS managed desktop environment.
If the software is not installed or if there is a newer version of the software available, the button will show as Install (not upgrade). To install or upgrade the software, simply click the Install button. To see the list of currently installing software, click the Installation status tab on the left side of the Software Center application.