Managing Video Content in Moodle
Add New Media Content to Your Course Media Gallery
- Each course has a “Media Gallery” where you can create and share media specifically with your course.
- Media will only display in the specific course’s “Media Gallery” in which it’s added.
Add Media to Multiple Course Media Galleries
Kaltura media can be added to multiple course Media Galleries at once:
- Navigate to “My Media” within your Moodle Dashboard on the right side menu/drawer. Note: you may need to click the upper right arrow to expand the right menu/drawer.
- Select the video by clicking the check box next to the video in which you would like to share with multiple courses.
- Select “Publish” from the “Actions” drop-down menu in the upper right corner.
- Select “Published” under the “Publishing Status”.
- Here you will see your course populated below. You can select the checkboxes for each course in which you would like the media to be added.
- Click [Save] when done. Media will then be displayed in each course’s “Media Gallery”.
Add a Kaltura Video Resource to Your Course
- Select the “Edit Mode” toggle in the upper right to begin editing the course site.
- Choose the topic block to which you would like to add your video resource and click Add an activity or resource.
- Select “Kaltura Video Resource”.
- Type a title for your video. You do not need to add a description, but it can be helpful if you are going to add more videos.
- Click [Add Media] in the “Video” section.
- The videos that you have previously uploaded in “My Media” should now be visible to you. Find the video you wish to add to your course, choose the size of the video player you wish to add and click [Embed].
- You can use the “Common module settings” and “Restrict access” to control how and when your students access this video resource.
- You also have the option to upload a video not currently in “My Media” by choosing the “Media Upload” option from the blue [+Add New] button in the upper right. Choose the file you wish to upload and select [Save and Embed].
- Click [Save and return to course] or [Save and display].
Embed Kaltura Media in Your Course
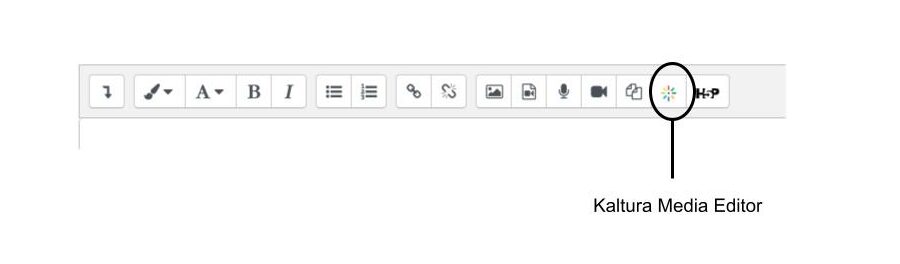
Kaltura media can be embedded in the context of a Moodle Course, using assignments, announcements and any location where the rich text editor is available within the course as well as wherever you see the Kaltura Video Editor icon (see below). You can embed Kaltura media into your Moodle course by following these steps:
- Select the Kaltura Editor icon.
- A new window will display including all of your media content. Select the blue [Embed] button to the right of the video.
- A short code will display in the area you are editing. Please note: the video will display once you save it.
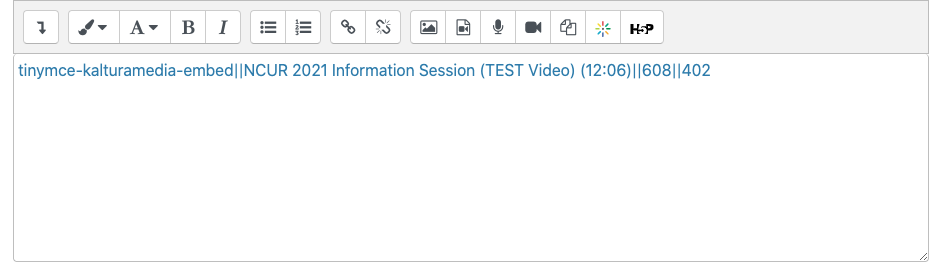
- When finished editing, click the [Save and return to course] button at the bottom of your screen. You will now see the video displayed in your course.
Add a Kaltura Video Quiz in Your Course
Instructions for creating a Kaltura Video Quiz can be found at Creating a Kaltura Video Quiz. A video quiz can be embedded in a course using the above instructions for Adding a Kaltura Video Resource to a Course.
Step-by-step instructions for adding a video quiz as an activity in your course that is also tied to the grade book are shared below:
- Select the “Edit Mode” toggle in the upper right to begin editing the course site.
- Choose the topic block to which you would like to add your video quiz and click Add an activity or resource.
- Select “External Tool”.
- Give your quiz a name in the name field.
- Select the “Kaltura Video Quiz” option from the drop down menu to the right of “Preconfigured Tool”.
- Click the blue [Select content] button. A small window will pop up that will include only your video quizzes that are saved in your media content.
- Choose the appropriate video quiz by selecting the blue [</> Embed] button to the right of the video quiz.
- Scroll down and open up your “Grade” settings by clicking the small gray arrow to the left of “Grade”. In this area, you can add the “Grade” value for the quiz, select the appropriate “Grade Category”, and add a (optional) “Grade to pass”.
- Click [Save and Return to Course].